Natural vs Artificial Light: How Will Impact Portrait Photography

Lighting is the heart and soul of photography. It determines how a subject looks, feels, and connects with viewers. When it comes to portrait photography, choosing between natural and artificial light can completely change the final result. This article explores the impact of these two types of light on portrait photography, offering valuable insights, techniques, and pro tips to help you decide the best lighting source for your portraits.
Introduction to lighting in portrait photography
Portrait photography is all about capturing the essence of a person. The way light falls on your subject plays a crucial role in creating mood, depth, and beauty. Whether it's the warm glow of natural sunlight or the right setup of artificial studio lighting, photographers must understand how to manipulate light effectively.
In this article, we’ll break down the pros and cons of natural and artificial light, compare their uses, and uncover techniques for mastering each. By the end, you'll be equipped to choose the perfect light source to elevate your portrait photography skills.

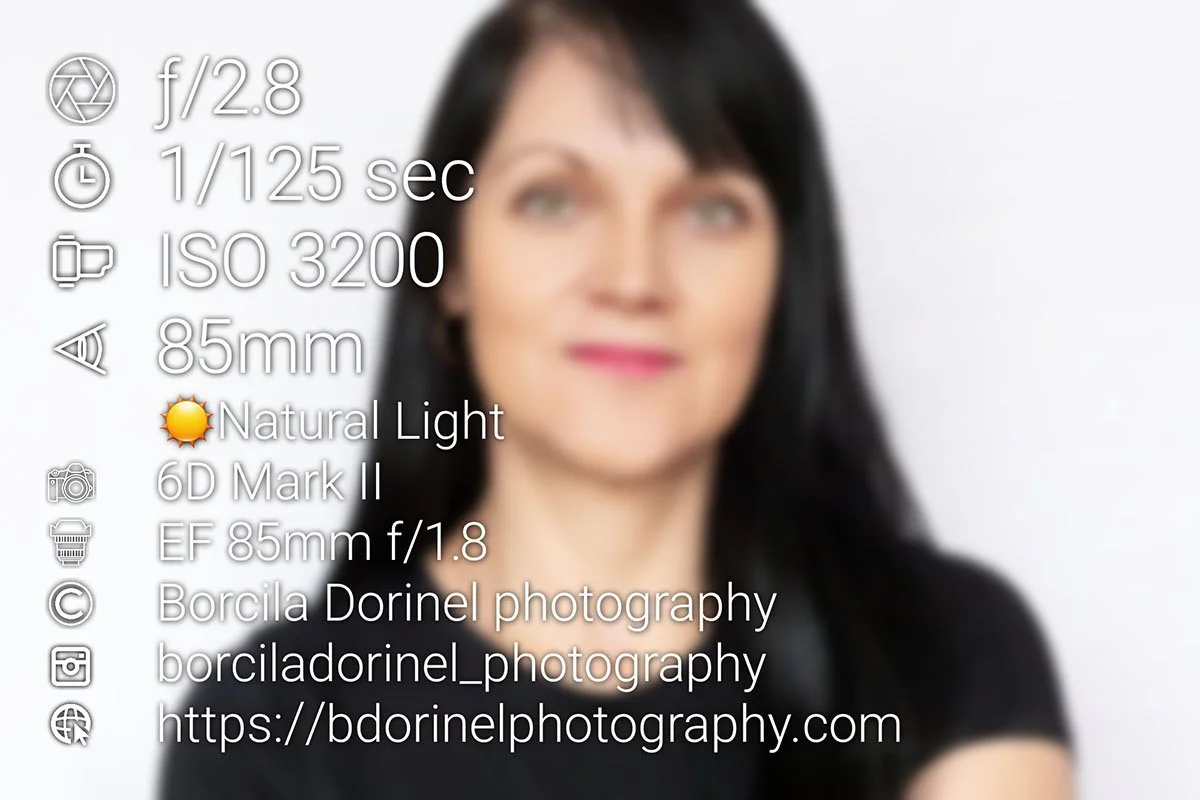
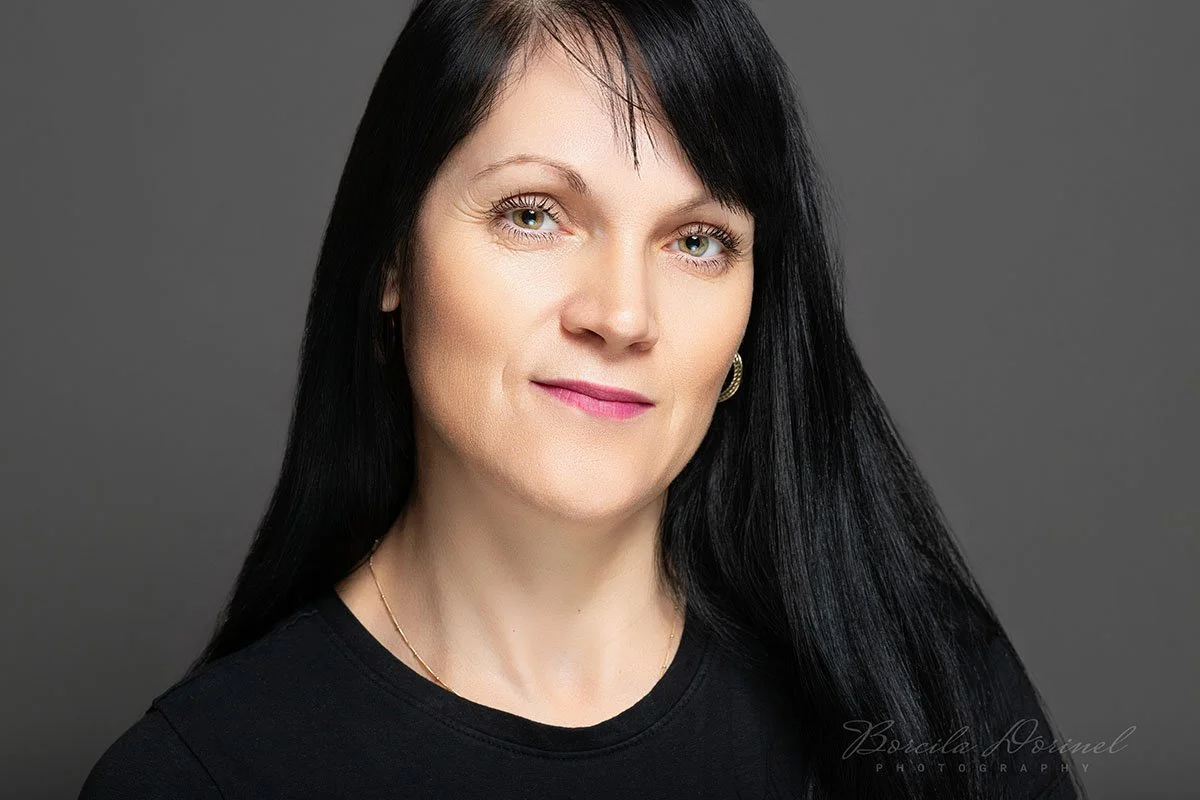
Portrait in natural light by ©️Borcila Dorinel photography

Portrait photography in natural light
Natural light refers to the sunlight that provides a soft, even, and flattering illumination for portraits. It's the most preferred source of light for photographers who aim to achieve a more organic, fresh look in their photos. For portrait and headshot photographers, taking advantage of the natural beauty of the outdoors, especially during golden hour (the first and last hours of sunlight), can add warmth and depth to portraits.
Natural light works best when shooting outdoors or near large windows, allowing your subject to be bathed in soft, diffused light. The light temperature can vary depending on the time of day, but it tends to create more natural skin tones and soft shadows.
*PRO TIP: Avoid shooting portraits in Auto WB, because it can shift color temperature based on changing lighting conditions. Use manual WB (KELVIN) to ensure that the color temperature remains consistent throughout the shoot, so CRUCIAL for accurate skin tones.
As an example from the image above, I’ve placed my subject right in front of the window with no other additional light sources or sheer curtains, just the bare window. Although, the weather outside was a cloudy one and very slightly dark, so I had to increase my ISO up to 3200 in the camera to have a correct exposure on the subject, without blowing out the highlights from subject’s face, keeping my aperture at f/2.8 to have more details on my subject’s face, especially at the eyes to be sharp in focus and shutter speed at 1/125 to gain some more light coming into my camera’s sensor.
*PRO TIP: When you are shooting portraits under 1/200 sec, use a tripod to avoid camera shake and have your subject sharp in focus.
Then, I have placed a white background behind my subject for a clean and professional look, adding a silver reflector underneath to lift up the shadows. The results came out amazing exactly as I wanted to be.
*PRO TIP: Use reflectors: a simple white or silver reflector can fill in shadows on the subject’s face when placed opposite the light source.
Advantages of natural light for portrait photography
flattering effects: The soft, diffused light from a natural light sources often creates smooth skin tones and minimizes harsh shadows.
variety: Depending on the time of day, natural light offers a wide range of effects. The morning light is cooler, while the evening light can add a warm golden glow.
free and accessible: most of the natural light portrait photographers, indoor and outdoor shoots are cost-effective and simple to arrange.
FAQ’s
-
Natural light is sunlight that photographers use to illuminate their subjects. It creates soft, even lighting and is ideal for outdoor or window-lit portraits.
-
The best times if it’s a outdoor portrait session are during the golden hour – just 1 hour after sunrise or before sunset – when the light is soft and warm. If it’s indoor, all day if it’s cloudy or overcast day or using a sheer curtain if it’s a harsh midday sunlight.
-
Beginners should use reflectors to fill shadows, shoot during golden hour, and avoid harsh midday sunlight for the best results.
Artificial light using one light source from a speedlite. Photo by ©️Borcila Dorinel photography


Artificial light in portrait photography
Artificial light, such as studio lighting, flashes, or continuous lights, allows for precise control over your shooting environment. While natural light can be unpredictable, artificial light provides consistency and flexibility. This is especially beneficial for photographers who need to shoot in controlled indoor shooting settings.
*PRO TIP: If you’re a beginner, start using continuous lights to see lighting effects in real-time before moving to strobes/speedlites.
The main advantage of artificial lighting is the ability to manipulate shadows, contrast, and brightness. By using a combination of key lights, fill lights, and background lights, you can create dramatic effects that wouldn’t be possible with natural light alone.
*Pro TIP: Practice with one light first: master one light before adding more to understand how each source affects your image.
In the example above, I have used a simple lighting setup made from 1x Godox V1 speedlite and a 24” octa softbox as my main light placed above subject’s head and a white reflector under the chin to fill up the shadows.As well, I have used a simple grey background to give a touch of professionalism to the headshot photo. Of course, the result it came out so amazing like I wanted to be.
*Pro TIP: Use catchlights: position your light to create a sparkle in the subject's eyes for a stunning portrait.
Benefits of using artificial light for portraits
consistency: artificial light can give consistent results, even during overcast days or in low-light conditions.
control over the shadows: with artificial light, you can shape the light to highlight your subject’s features in precise ways, making it ideal for headshot/portrait photography.
flexibility: you can experiment with various lighting setups and modifiers (such as softboxes or umbrellas) to create different moods and effects.
FAQ’s
-
Artificial light refers to the lighting sources like studio lights, LED panels, or flashes used to illuminate subjects.
-
Continuous lights stay on and are easier for beginners, while flash lights are more powerful and create sharper images.
-
Both have their pros and cons. Natural light offers a softer, organic feel, while artificial light provides consistency and control.

Combining both natural and artificial light for perfect portraits
Many professional photographers, prefer to combine both types of natural and artificial lighting for portraits. For example, you might use artificial light to illuminate the subject’s face and incorporate natural light to add interest in the background or add drama. This hybrid approach creates a balanced and dynamic look.
FAQ’s
-
A DSLR or mirrorless camera, a prime lens (50mm or 85mm), and lighting gear like softboxes or reflectors are great for portraits.
-
Over-editing, poor lighting, awkward poses, and ignoring the background can ruin a portrait.
-
A sturdy tripod, a good prime lens, external flash, and light modifiers are essential tools for professional portraits.
Conclusion
In portrait photography, both natural and artificial light offer distinct advantages and can be used creatively to your images. Understanding how to make the most of each lighting source will allow you to provide the best possible results for the future clients in your area, whether you’re shooting a headshot or a lifestyle portrait. By mastering these lighting techniques will help you achieve professional-quality images that stand out with stunning and EPIC headshots.